I´d like to share a tutorial how to create your own pearl spray and show you a few examples how to create clean and simple cards.
Prajem vám všetkým krásny deň,
dnes som si pre vás pripravila jednoduchý návod
ako si vyrobiť vlastný perleťový sprej.
Tento článok bol vytvorený pre blog vintagecrafting.sk a
celý si ho môžete prečítať na tomto linku.
Choose your favorite watercolor paper, stamps and ink pads.
Of course I
recommend my favourite Versafine Onyx Black Ink.
You will need your favourite watercolors as well :-)
The main
ingredient is Perfect Pearls. Shiny pigments available in all colours have a
waste range of usage. You can add it to your paints, to your texture paste or
to your gesso. Everything is nicer with a little bit of shimmer, isn't it ? :)
You can
find cheaper substitute, but I don´t recommend it. I bought it, compared it and
definitely the original Perfect Pearls is better.
Of course
you need some bottle. You can buy clean & new one or recycle the old one
you found in your household. I like to add a few beads because the pigment tends
to stuck at the bottom of the bottle. Every time you are going to use it - just shake
it and it´s as good as new one :)
Fill the
bottle with water and add small amount of pigment. You can always add more
pigment and achieve the shine you are looking for.
Stamp your
image and use pigment ink. It´s wet for a long time that´s why you have enough
time to pour over some clear embossing powder. This will help you with colouring and adds
extra shine on to your card.
Of course
this is optional step.
Now the
best part of the project: colouring. Use your pearl water instead of the plain
one.
This is the
final card:
Shine you get is simply AMAZING ♥
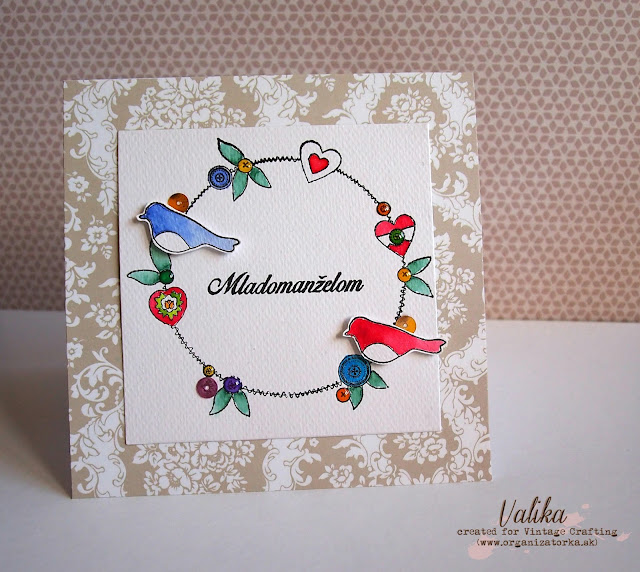
I have
created one more card. Originally this stamp set is designed for Christmas but
I used is for my wedding card here.
Remeber you
can use your stamp set as you wish. There are no limits in creative world ;)
Hope you
like this tutorial as well as my cards. Have an amazing day


No comments:
Post a Comment